Trout Action Perking Up at Lake Amador with Mixed Bag Limits
29 Nov 2025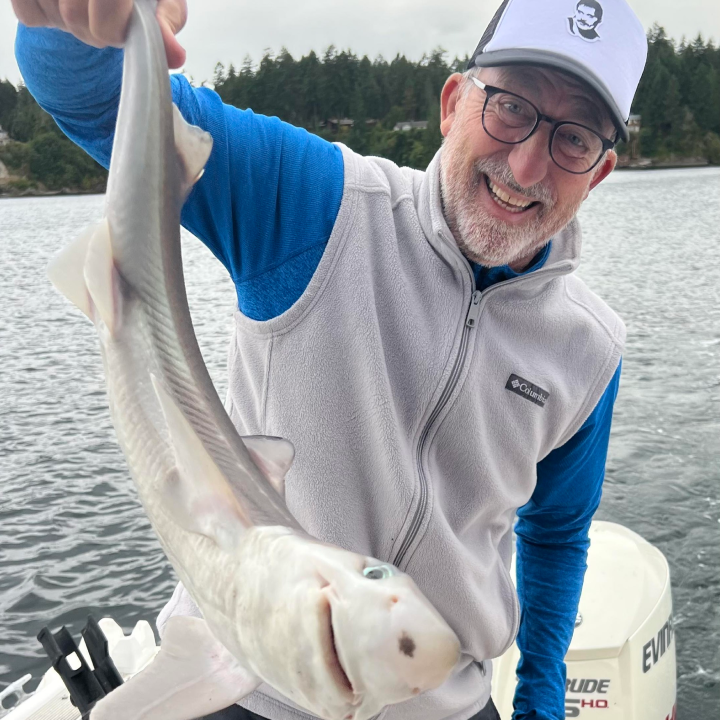 Tom Mailey
Tom Mailey


 Ben Mechling
Stay up to date with the latest fishing reports and expert tips.

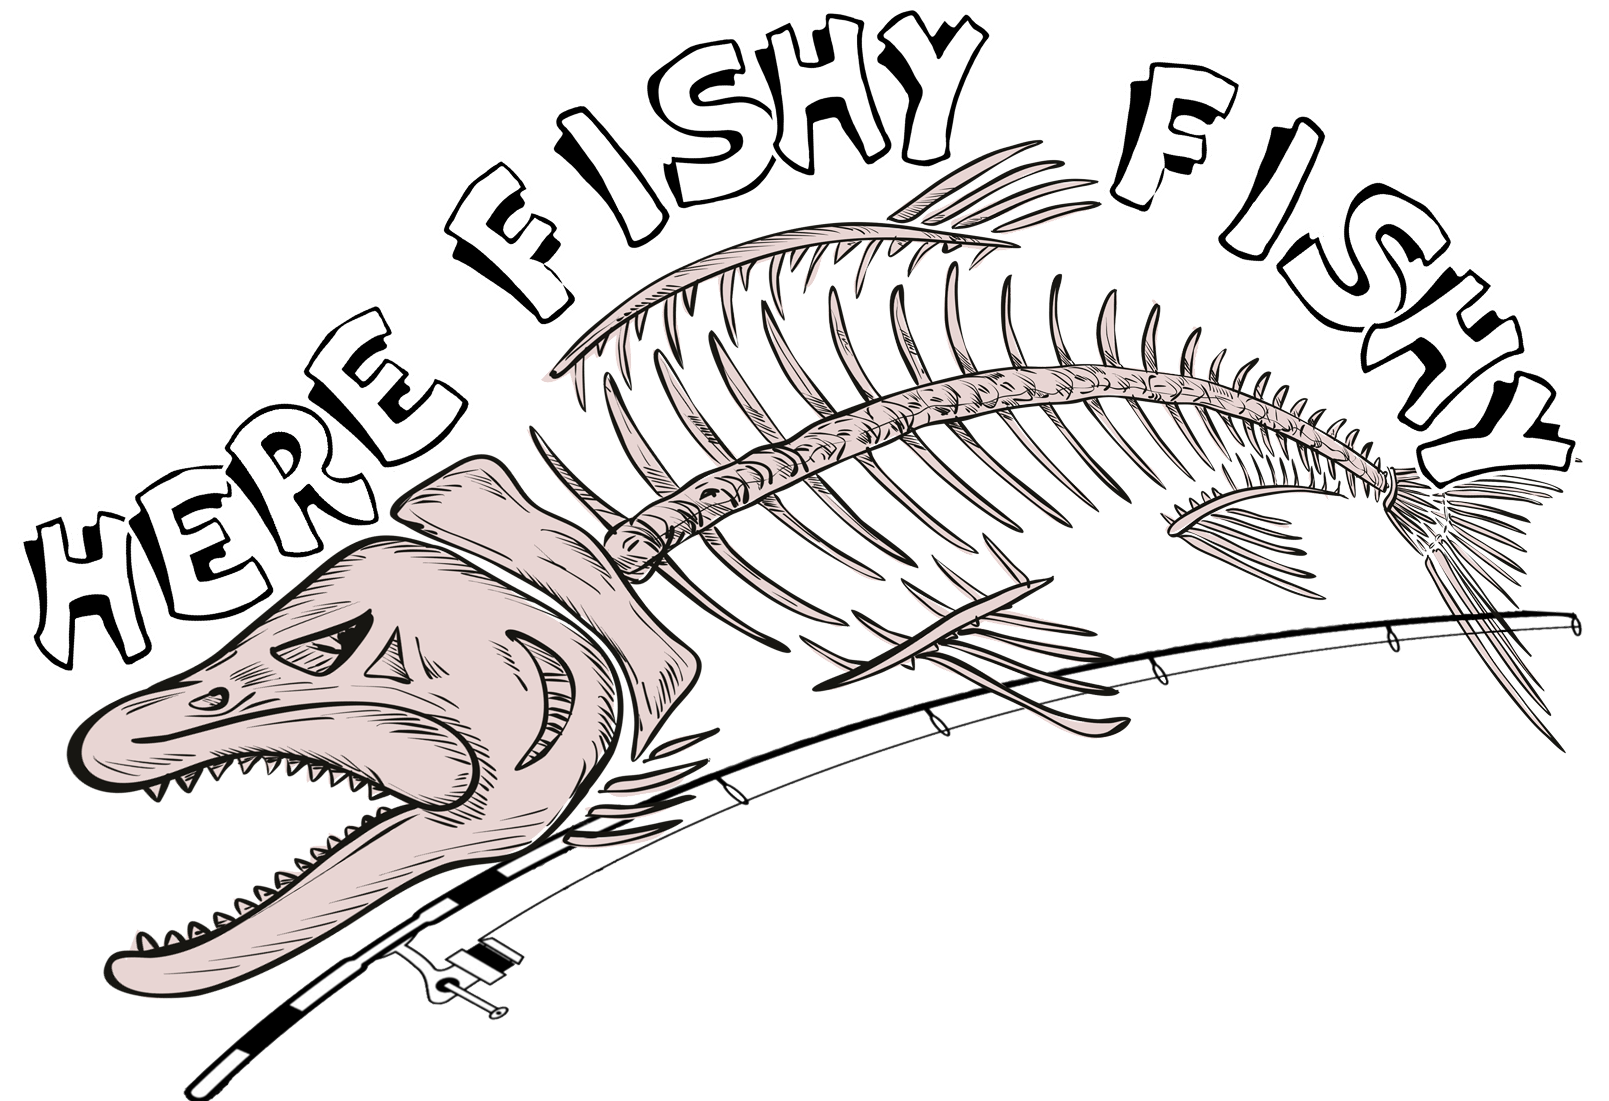
The California Delta is delivering red-hot striped bass action right now with water temperatures holding at 54 degrees. Anglers fishing with John Richardson of Here Fishy Fishy Guide Service are seein...
 John Richardson
Isabella checked in after another strong day chasing crappie and bass on Clear Lake, working the midlake zone where the ...
 Isabella Jang
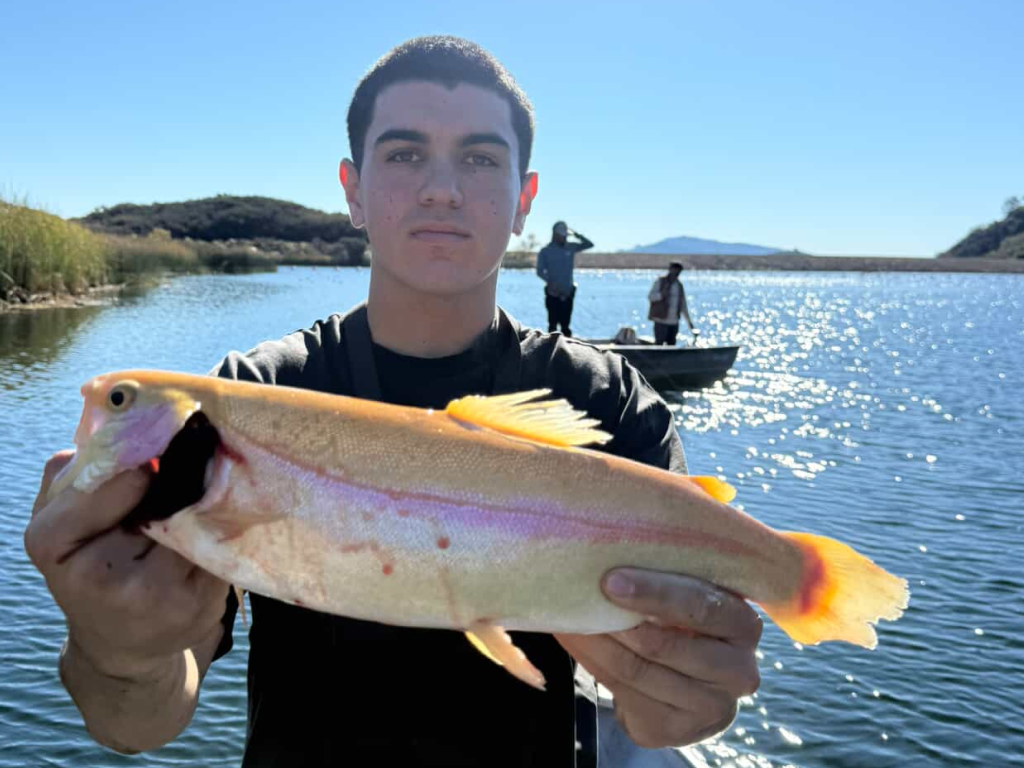
Anglers at Dixon Lake are enjoying some solid trout action this week, with beautiful Lightning trout highlighting the ca...
 Devon Hammonds
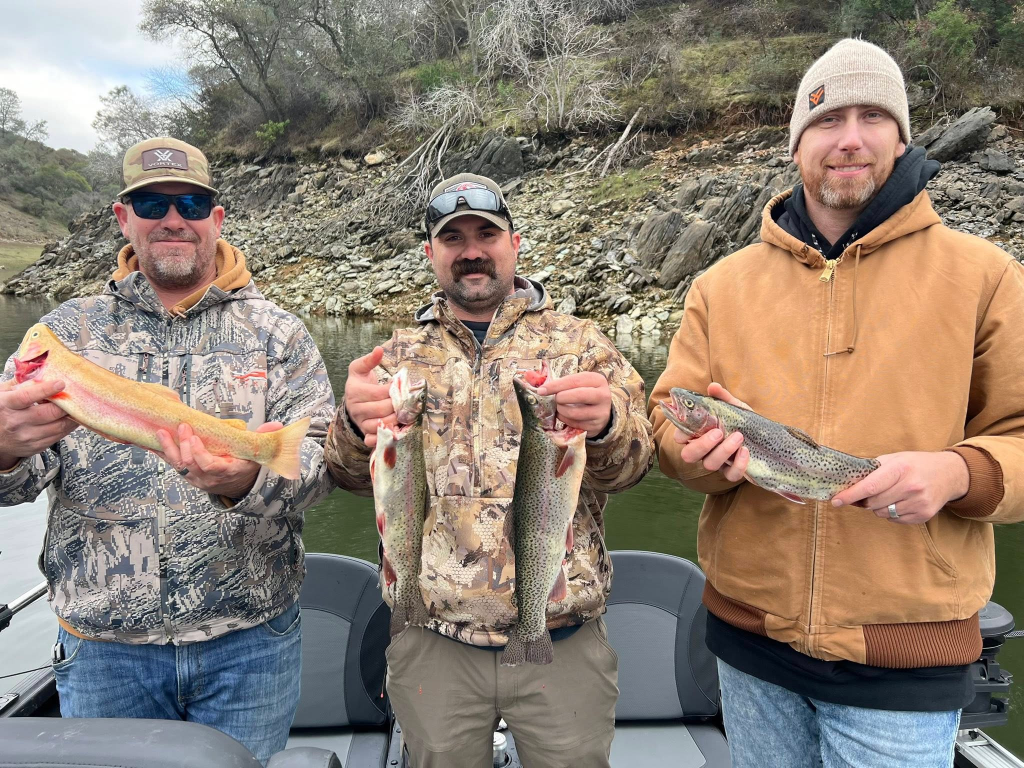
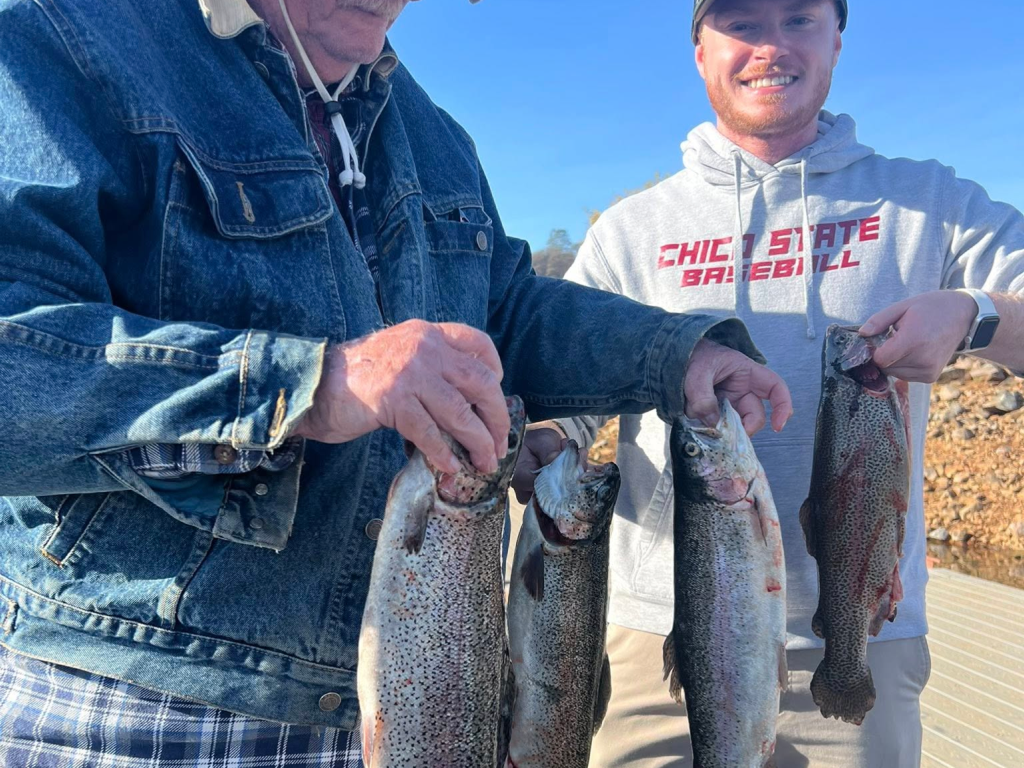
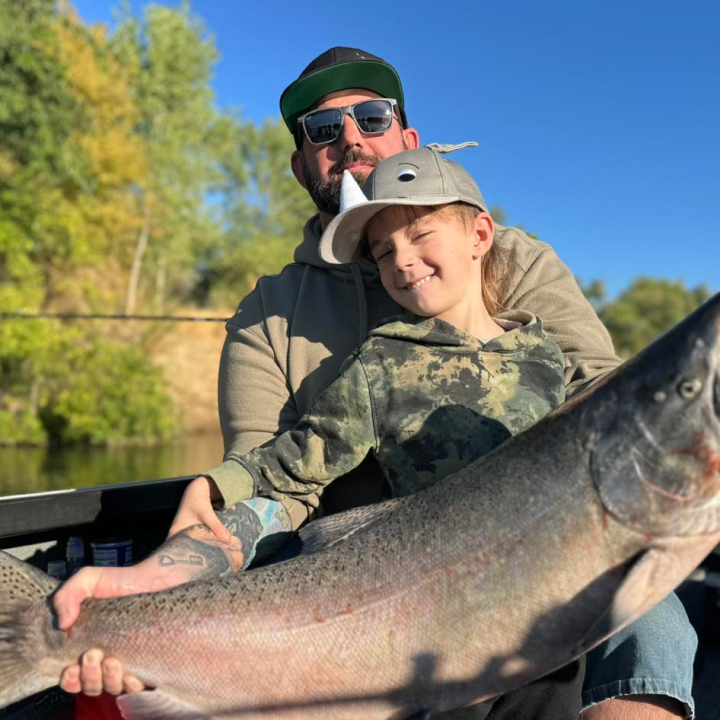
Tom Mailey of Get The Net Fishing Guide Service reported in with solid results from a recent outing on Lake Amador, hook...
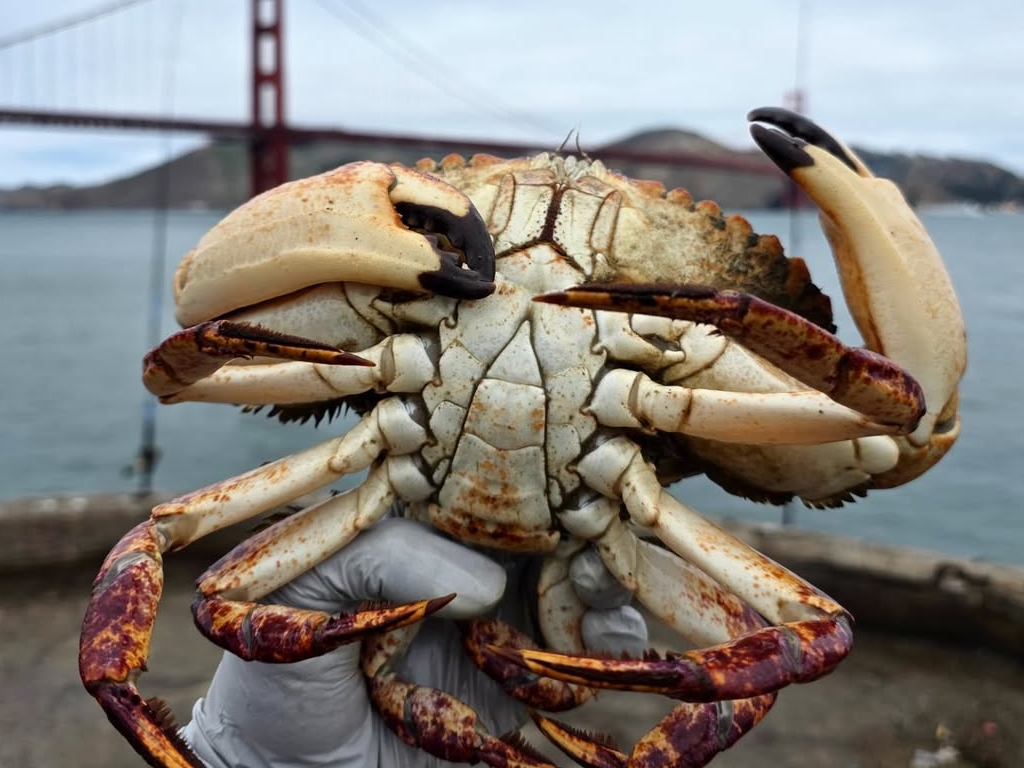
Tom MaileyAnglers aboard the Reel Addiction 2 enjoyed outstanding action on a special Veterans Crab Combo Trip out of San Francisco Bay. Captain Shawn Taylor guided the charter to the Farallon Islands where con...
Ben Mechling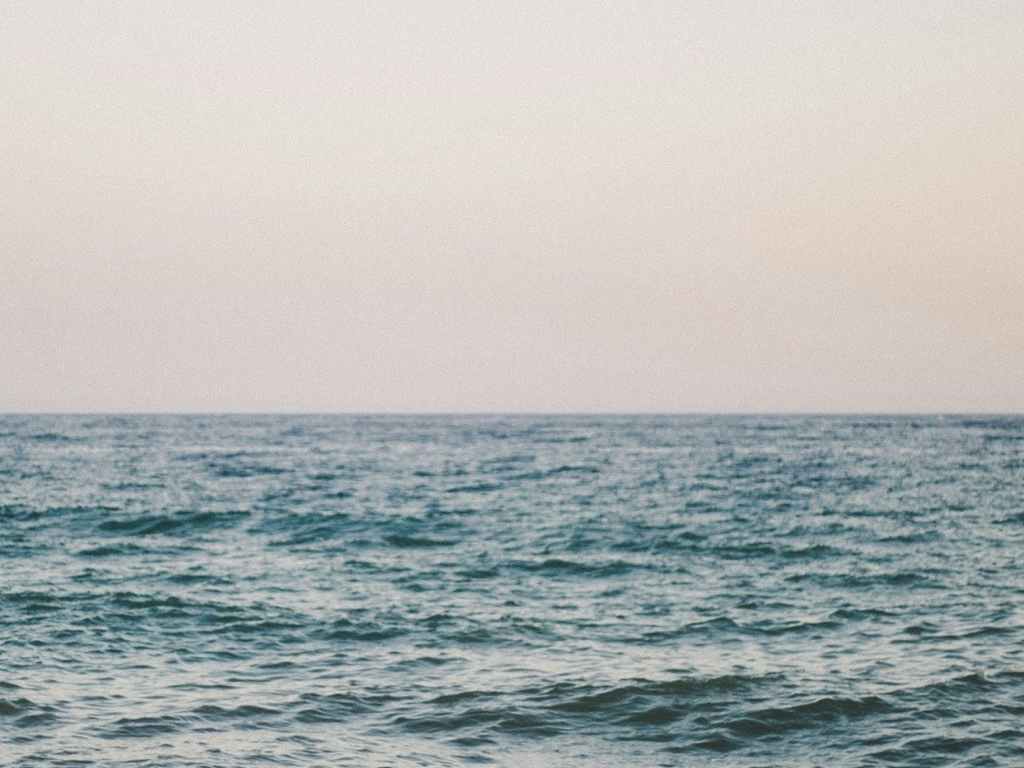
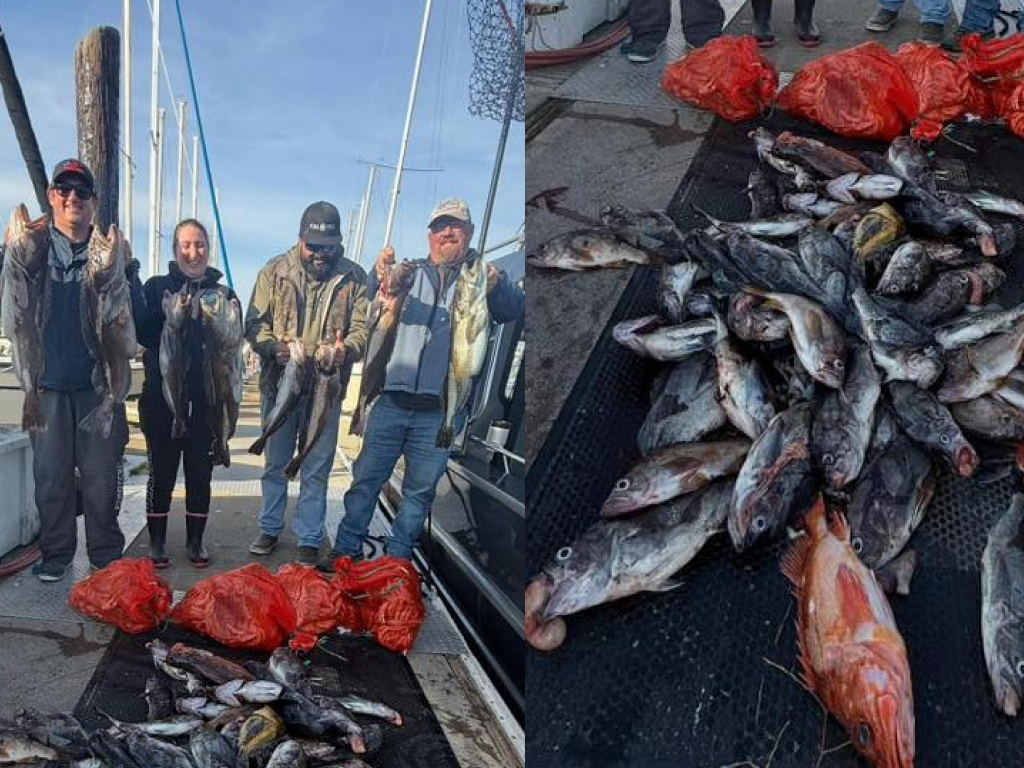
MONTEREY - Charter boat trips out of Chris’ Fishing continue to produce full limits of rockfish, along with some hefty l...
 Dan Bacher
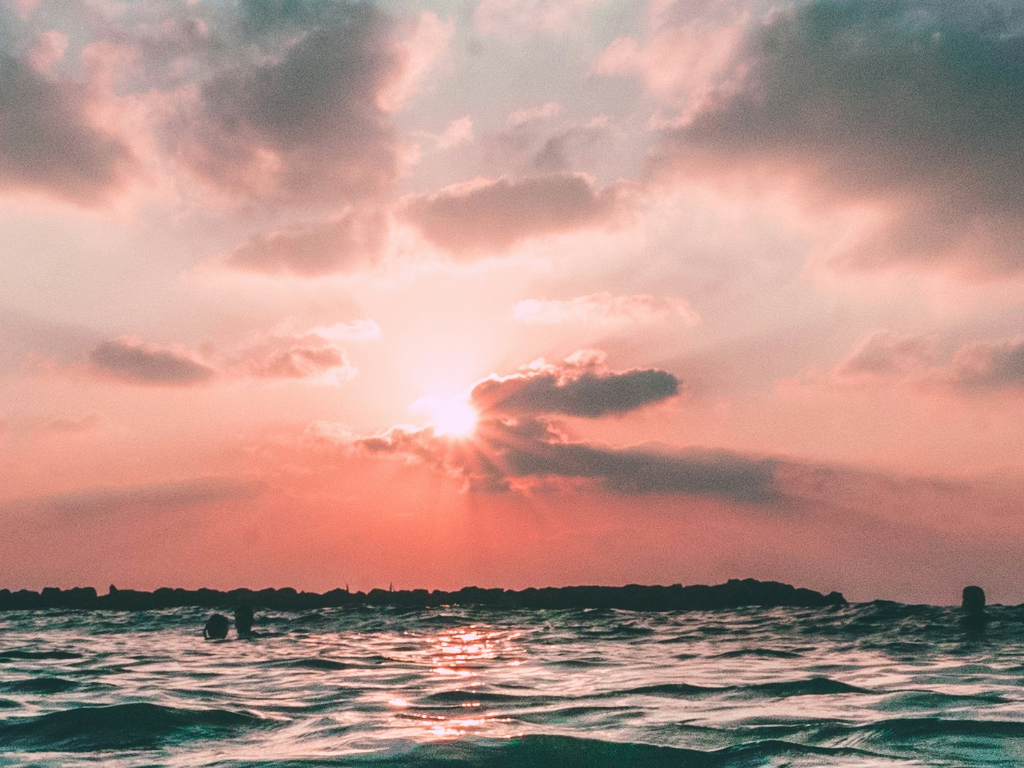
SAN FRANCISCO – The live bait season is over on San Francisco Bay, so charter boat captains have switched to crab./rockf...
Dan Bacher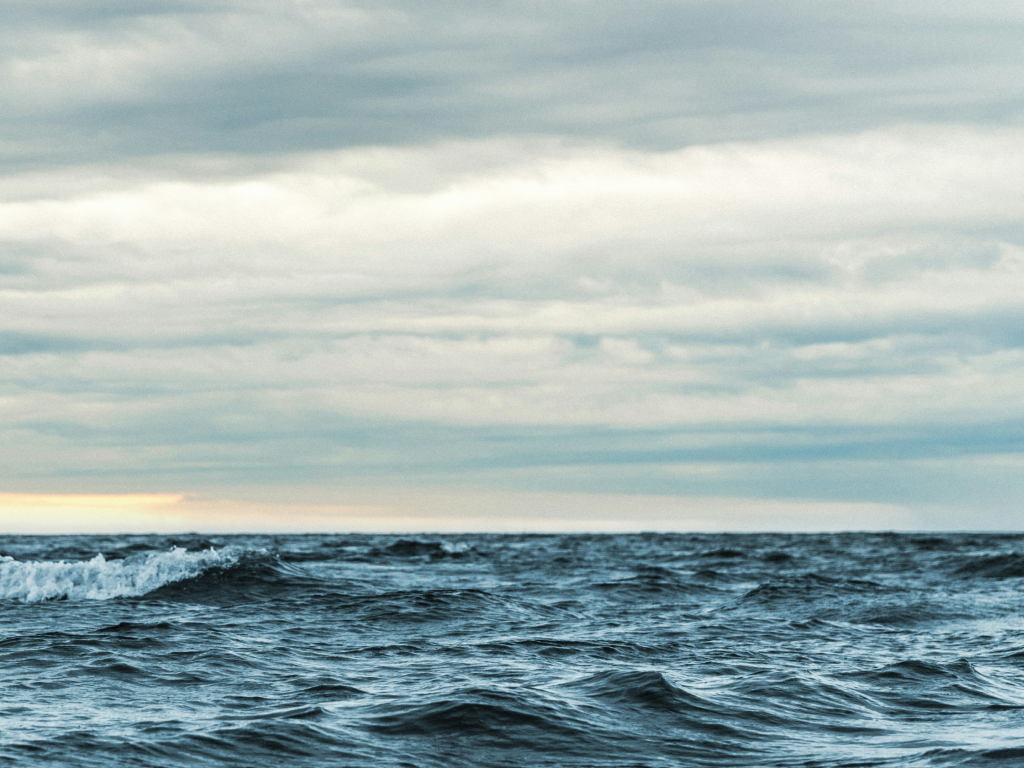
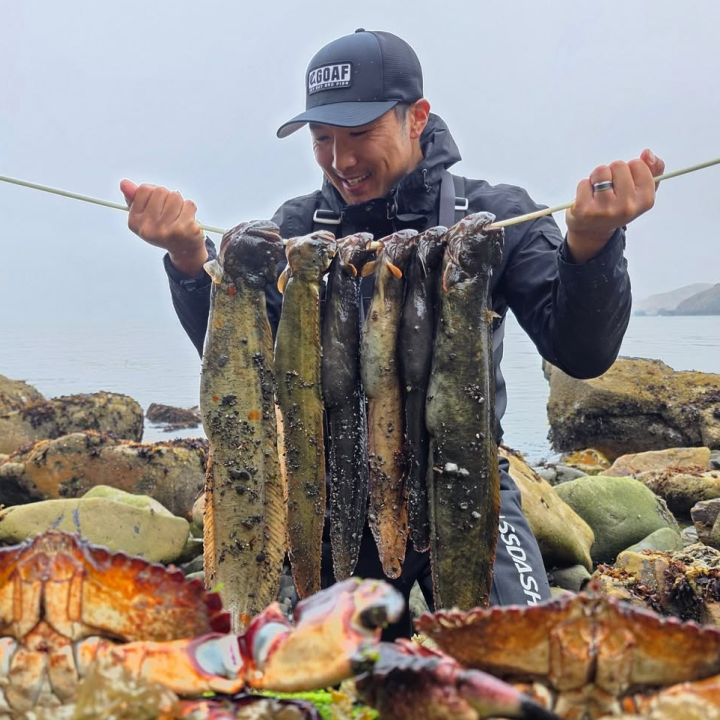
BODEGA BAY – The Dungeness crab season is in full swing and anglers have been catching limits of rockfish and limits of ...
Dan Bacher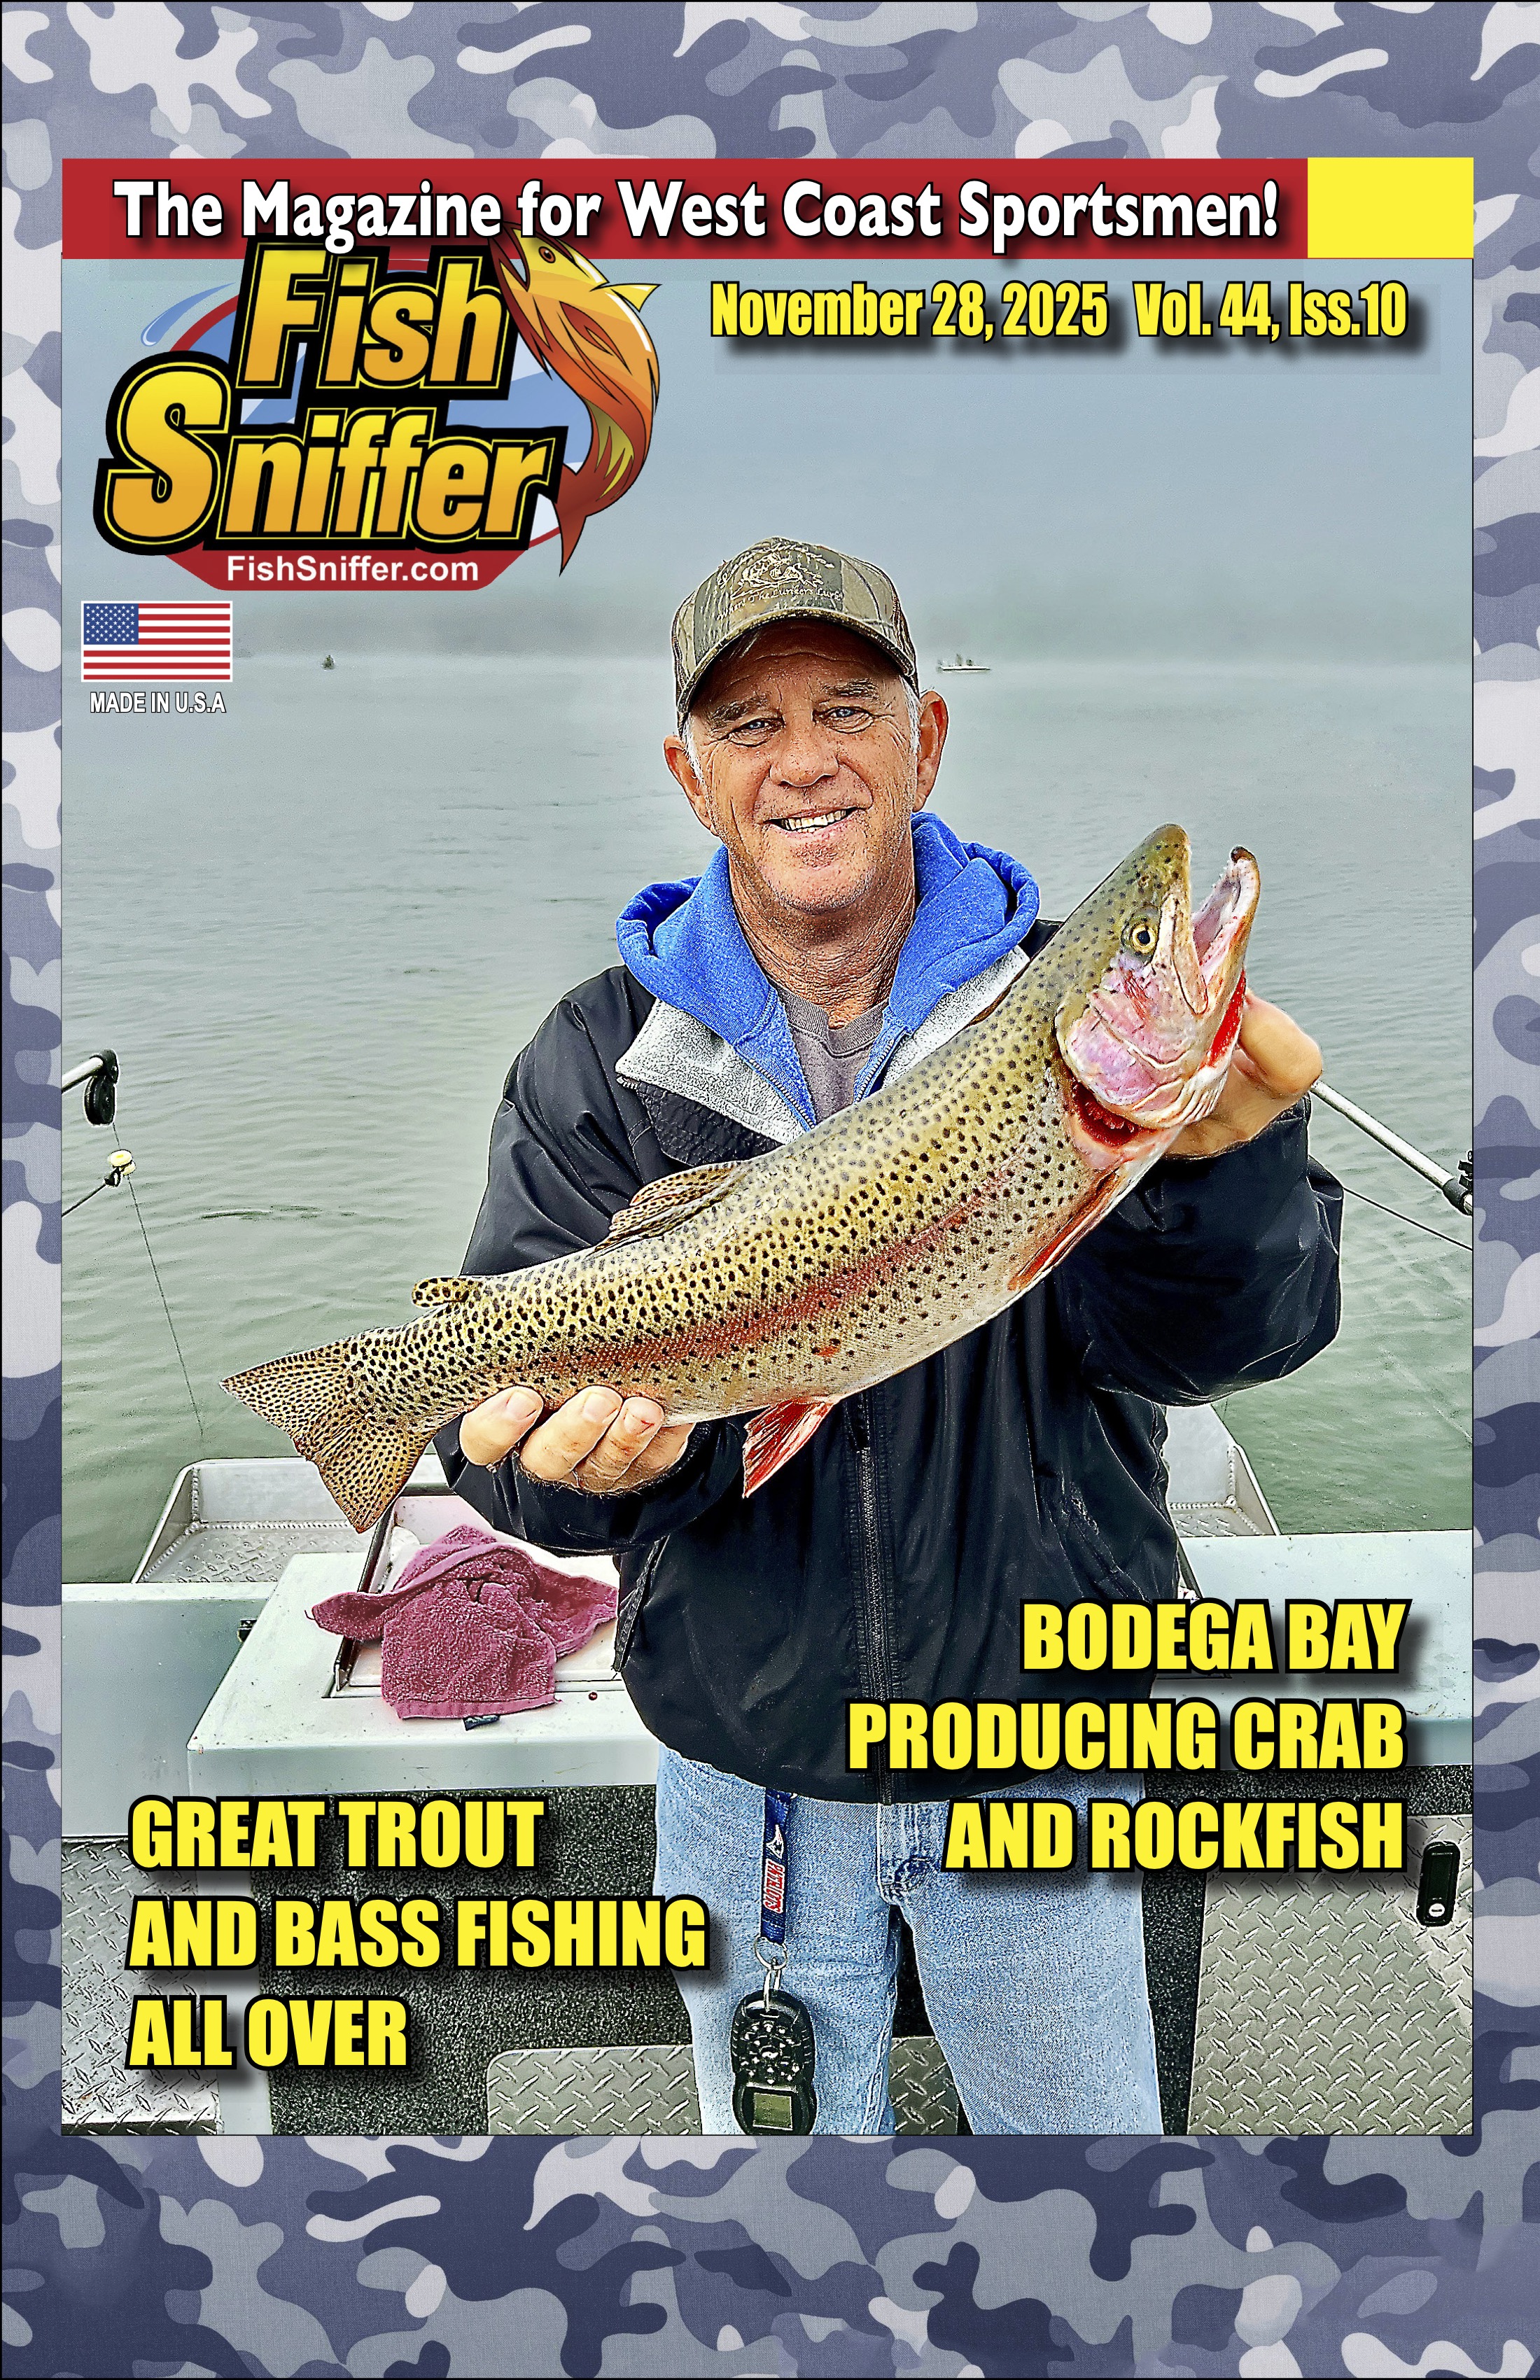
Check out the new Issue of The Fish Sniffer magazine for November 29, 2025 In this issue of The Fish Sniffer, we are moving from Fall into Winter. Much cooler temperatures, rain and some snow has come to Northern Californial. Trout, salmon, bass, panfish, stripers, catfish and all other species will go on the bite to fatten up for the lean winter ahead. Check out the articles in this issue of The Fish Sniffer, including information on catching 3 different varieties of trout at Lake Amador, the beginning of the great fall season at Eagle Lake and much more. Check out Dan Bachers conservation features with some very good news about the future of salmon fishing in Northern California. Read how to catch more fish and enjoy the wonderful outdoors in Northern California for the season. The golden mussel problem is still impacting boaters all over the state and has caused major boat launch closures and strict new inspection and quarantine rules several lakes in our area. These rules are starting to change, with Lake Pardee and Lake Comanche announcing they will allow outside boats on their waters next year, with banding and inspections in place. Be sure to check out the regulations at any lake you want to fish before you go. All you need to know about fresh and saltwater fishing in Northern California is now available in the new issue of The Fish Sniffer Magazine!
Anglers aboard the Reel Addiction 2 enjoyed outstanding action on a special Veterans Crab Combo Trip out of San Francisco Bay. Captain Shawn Taylor guided the charter to the Farallon Islands where con...
Ben MechlingThe California Delta is delivering red-hot striped bass action right now with water temperatures holding at 54 degrees. ...
John Richardson
SACRAMENTO — Opponents of the Delta Tunnel project last month celebrated their successful campaign against Newsom’s trai...
Dan BacherIsabella checked in after another strong day chasing crappie and bass on Clear Lake, working the midlake zone where the ...
Isabella Jang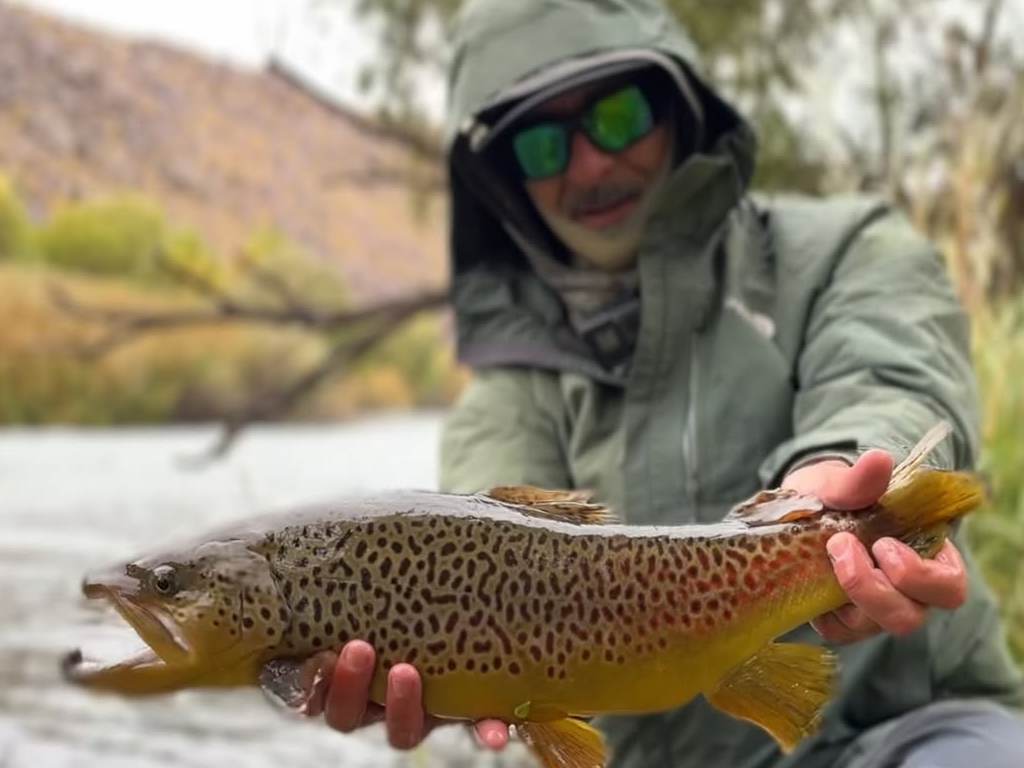
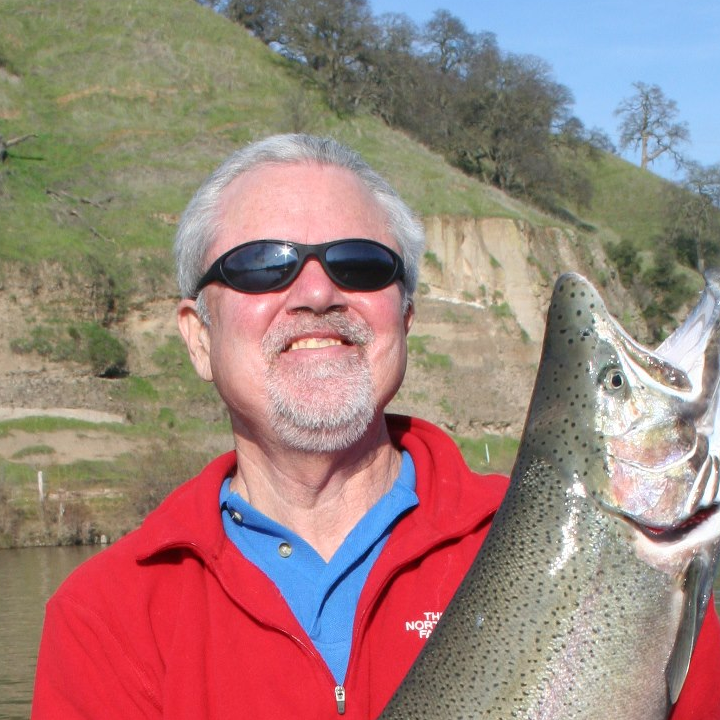
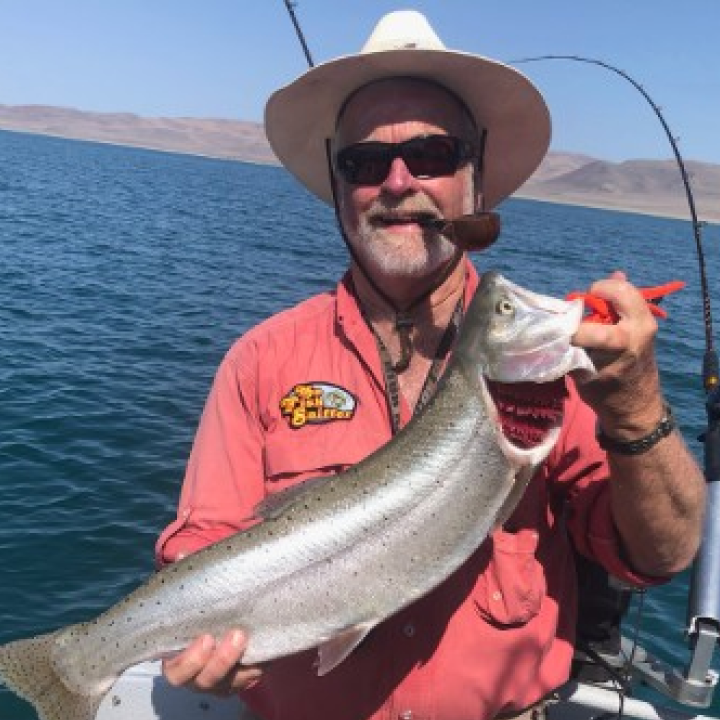
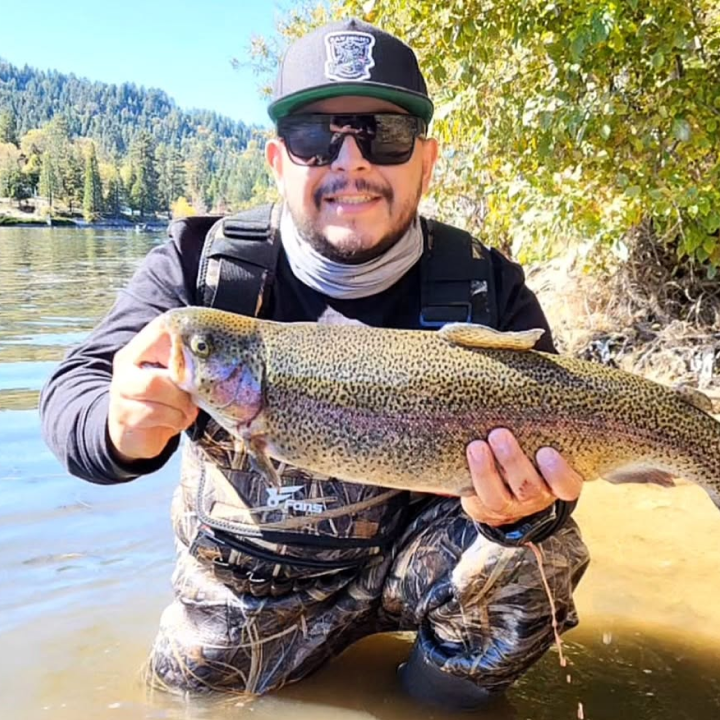
Mike Cooper of MADE Baits caught this brown in the Eastern Sierras. He hit the river reservoir edge during the tail end of a fall storm before check in and found a heavy pumpkin colored buck brown. It...
 Mike Cooper
BURSON – Shore anglers and rental boaters are catching big numbers of black bass, particularly smallmouths, at Pardee La...
Dan Bacher
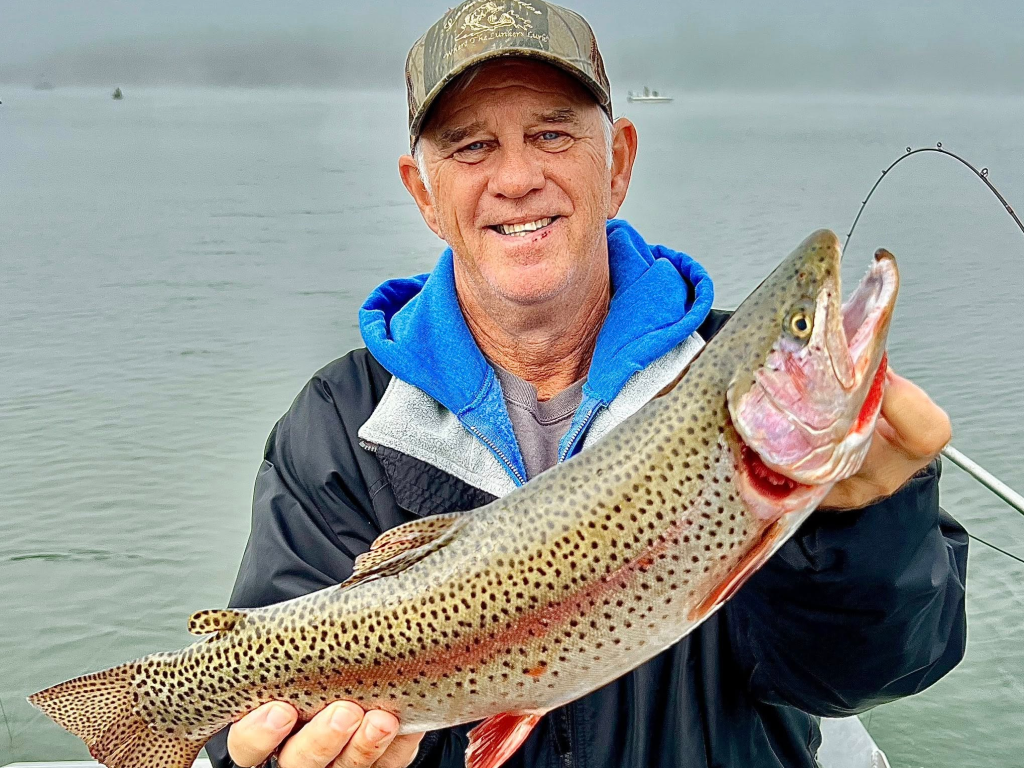
ANGELS CAMP – While kokanee salmon fishing has petered out as the fish go upriver to spawn, fishing for rainbow trout is...
Dan Bacher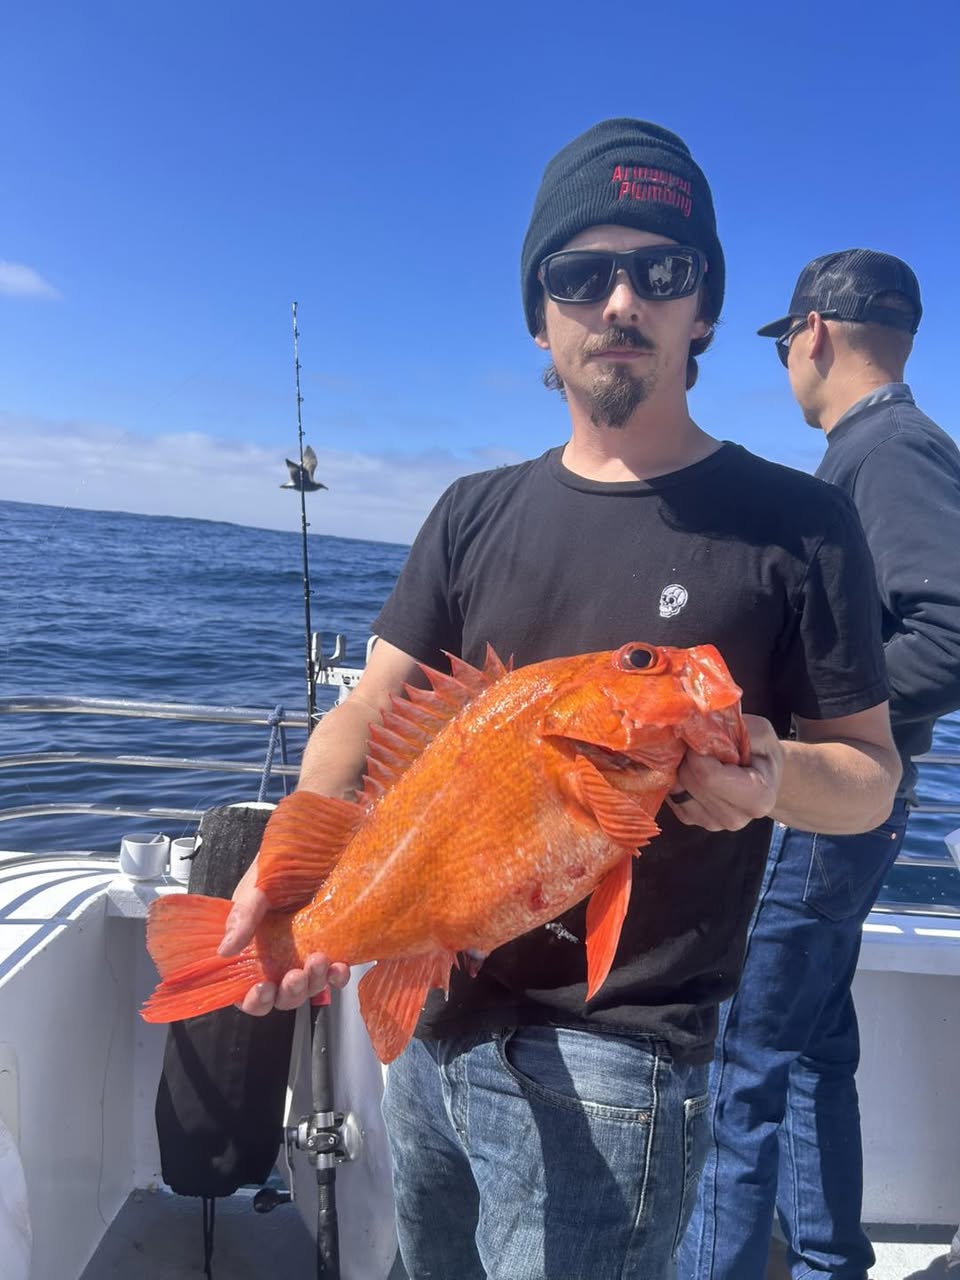
SANTA CRUZ – While most anglers are focusing on rockfish and lingcod now that all depths are open, a few bluefin tuna ar...
Dan Bacher
Jack Naves fished Lake Amador with Robbie Dunham of Koke Machine Guide Service in Robbie's 20’ Boulton boat powered by Yamaha. They caught three cutbow trout and one blue trout using Edge Mag Pro rods in Scotty downriggers. The rods were teamed with Abu Garcia Max Toro DLC levelwind reels loaded with Triene XT 14-pound test clear monofilament line. They trolled gold-colored Speedy Shiner spoons and orange Arctic Fox Tube Flies ran directly behind small Wigglefin Action Discs in the top ten feet of water.
Paul Kneeland fished Eagle Lake with Bridget Looney in the Fish Sniffer 21 Rogue Jet Coastal. They caught rainbow trout to 22 inches and 3.75 pounds using a Lamiglas 7 ½ foot ultralight graphite rod with a Daiwa Lexa low profile line counter reel loaded with 6 lb test P Line flourocarbon line.. They trolled 2 inch Mag Lips. Thomas Bouyants and Excel spoons, on the surface and off the Canon Downriggers at 10 to 20 feet deep and 2.2 mph.
Dan Bacher fished for rainbow trout at Lake Camanche South Shore. He used a Berkley Ugly Stik GX2 6’ 6” medium action spinning rod, teamed up with a Shakespeare GX235 spinning reel filled with 8 lb. test P-Line CX Premium Fluorocarbon Coated Line. He fished with Berkley Tequila Sunrise Power Bait on a #14 Eagle Claw gold treble hook on a sliding sinker rig.
Boaters are catching limits of hefty rainbow trout. The fish are hitting Trigger Spoons, stick baits and other offerings at 15 to 45 feet deep.
Limits of crab and rockfish are the rule for anglers boarding charter boats. The rockfish season will remain open through December 21.
Sturgeon fishing has hit its prime. Anglers are catching and releasing diamondbacks while soaking salmon roe, grass shrimp and ghost shrimp.
Trolling Rat-L-Traps is producing limits of striped bass. Fish averaging 5 pounds and going up to 10 pounds are rewarding anglers.
Steelhead action is going strong in the stretch of river above Live Oak. Anglers are hooking the 2 to 6 lb. steelies while drifting salmon roe and soft beads.
Jig fishing for spotted bass is off the hook. The fish are mostly in the 1-1/2 to 3 lb. range.
Fishing from shore and rental boats is shifting into high gear. Anglers are catching rainbows and some lightning trout while using PowerBait, nightcrawlers and spoons.
Trout plants have begun with the cooler weather. Bait fishing from shore and trolling from rental boats are both productive.
Weekly trout plants have boosted the bite. Experienced anglers are picking up limits and near-limits of rainbows while pulling steel #5 floating Rapalas, orange Trout Trix Minnows and orange Metalheads at speeds of 1.8 to 2.2 mph.
Stoneflies, worms and eggs are all great attractor nymphs for trout right now. Pair these larger flies with the small bugs of winter, I.E. baetis and midges.
This is a great time for target rainbow trout from shore. Use inflated nightcrawlers, PowerBait, Kastmasters and an array of lures to entice the rainbows.
Spotted bass fishing is very good this time of year. Drop shotting with plastics and fishing jigs are both top-notch methods.
Steelhead fishing in the upper stretch of the American below Nimbus Hatchery will open on January 1, 2026. Pulling plugs from boats and casting spinners, roe and soft beads from shore are both productive.
Steelhead fishing in the upper stretch of the river below Camanche Dam will open on January 1, 2026. Anglers fishing spinners, roe and soft beads will find success.
Located on the border between Nevada and California, this popular lake will open to trout fishing on January 1, 2026. Both shore and boat anglers can expect to find success on trout.
The rockfish and lingcod season will continue through December 31. Charter boat anglers use baited shrimp flies, bars and swimbaits to entice the bottomfish.
SACRAMENTO — Opponents of the Delta Tunnel project last month celebrated their successful campaign against Newsom’s trailer bill to fast-track the Delta Conveyance Project through the State Legislatur...
Dan Bacher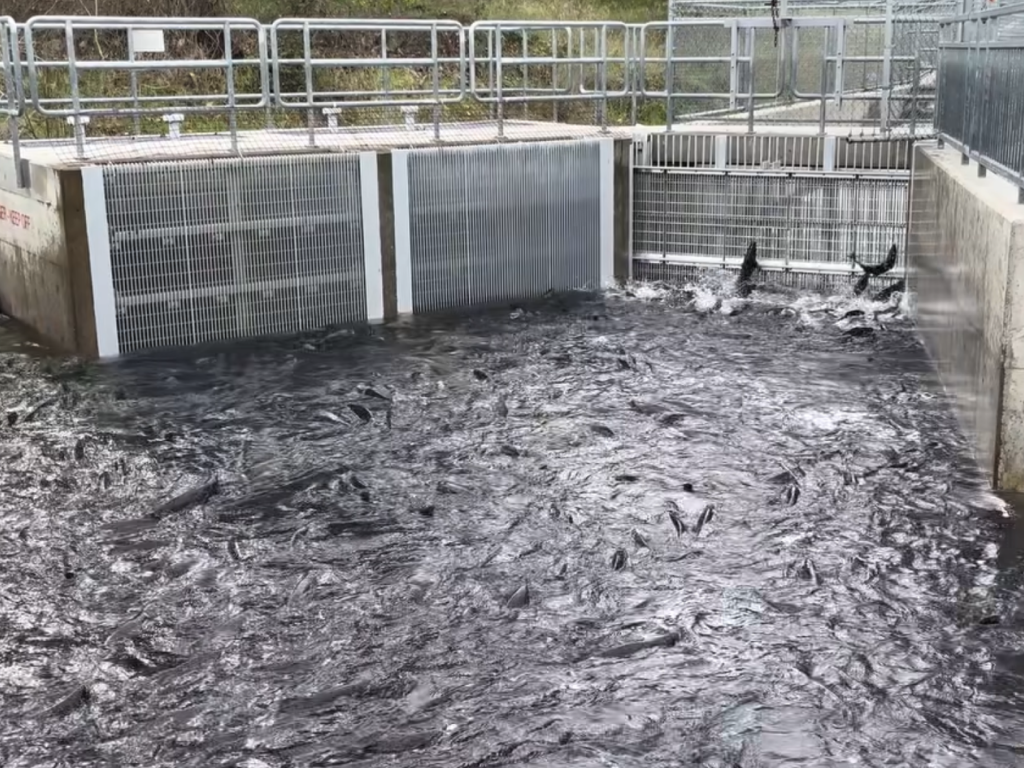
American River, CA – Following the opening of the Nimbus Hatchery fish ladder last week, California Department of Fish a...
 Fish Sniffer Staff
Delta Tunnel opponents slam Gov. Newsom's revised budget plan to fast-track project SACRAMENTO - Sacramento — Governor...
Dan Bacher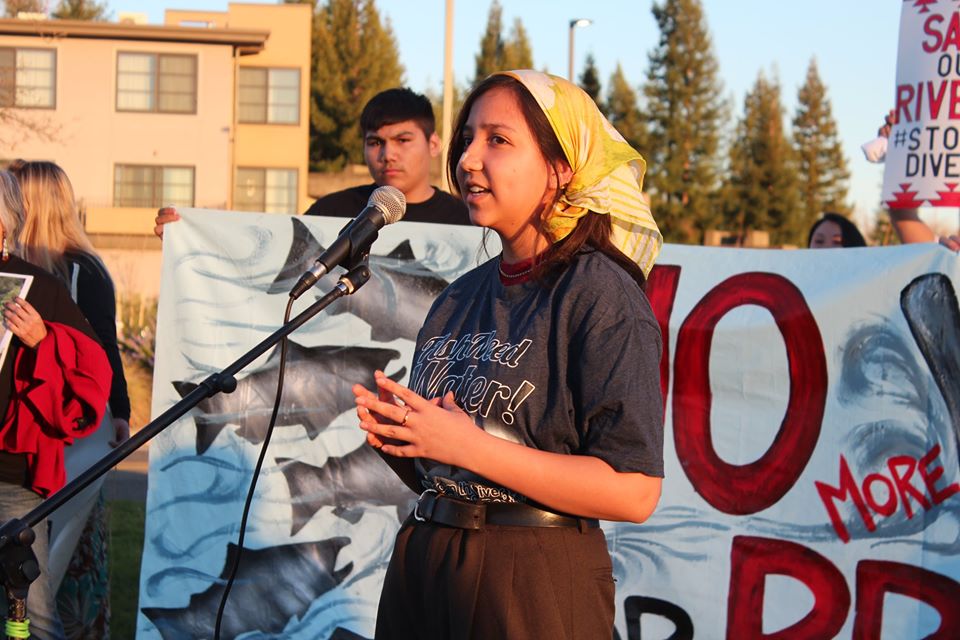
For many years, federal, state, and corporate proponents of building more dams in California have touted cold water rive...
Fish Sniffer StaffAnglers at Dixon Lake are enjoying some solid trout action this week, with beautiful Lightning trout highlighting the catches. Tom Guzman checked in with a standout fish, a gorgeous Lightning trout he...
Devon Hammonds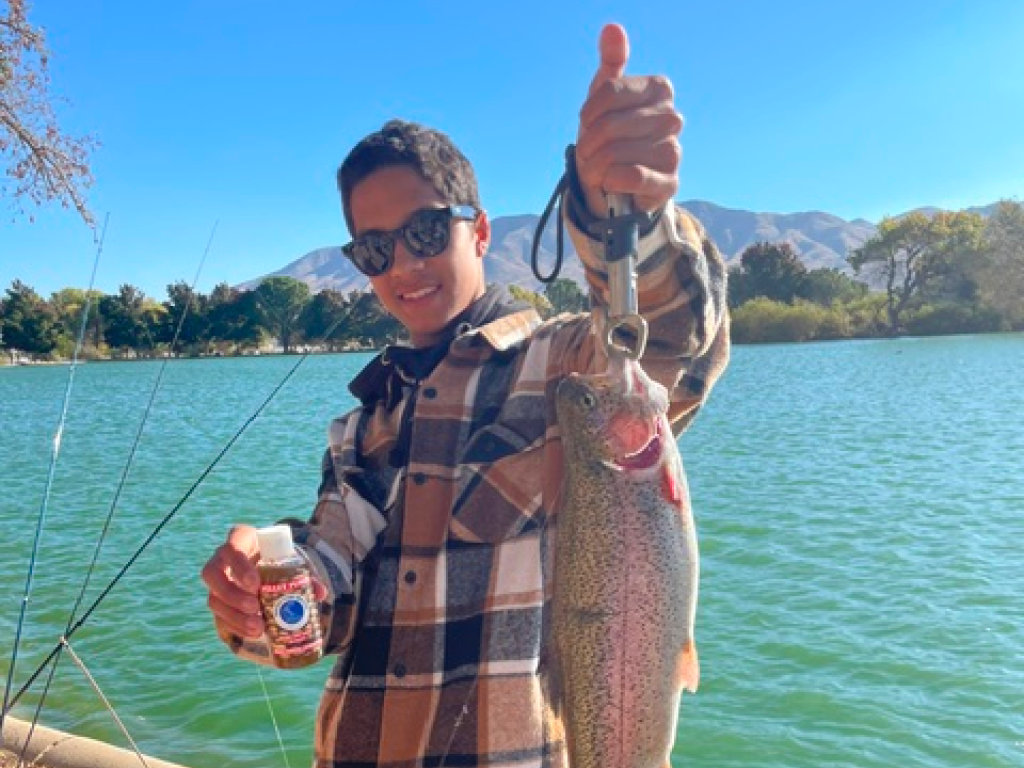
On November 13, 2025, during the Hesperia opener at Hesperia Lake Park, the trout bite began slowly, with just one fish ...
Devon Hammonds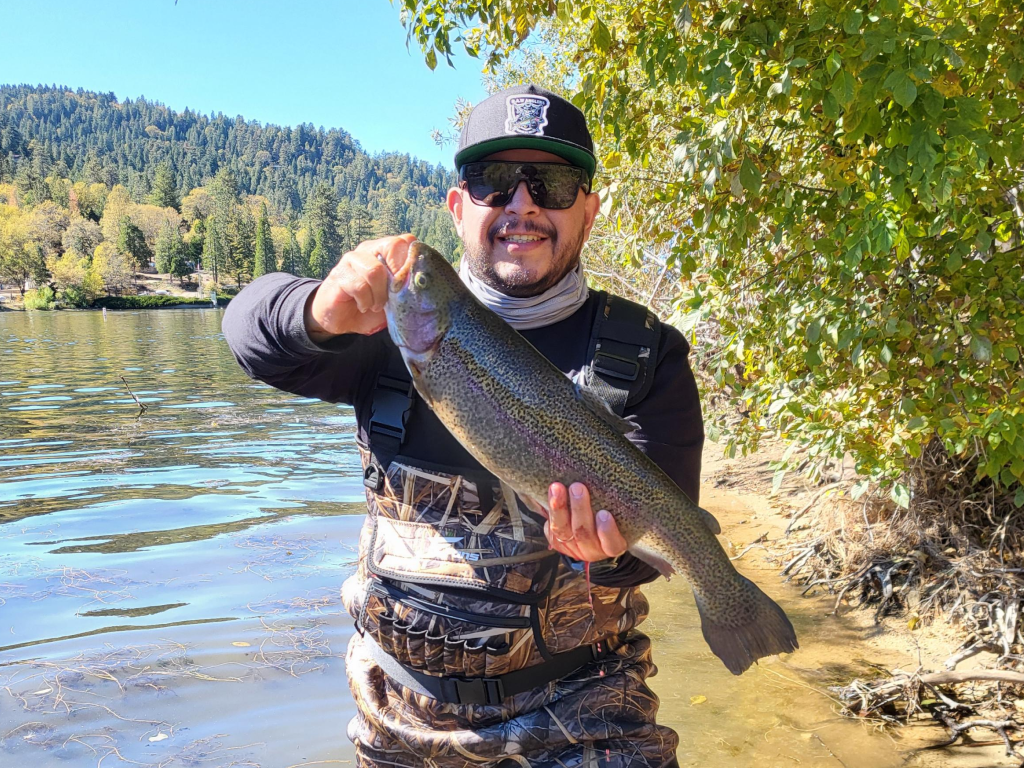
Luis Gonzalez started November strong at Lake Gregory and landed a thick 4.10-pound rainbow trout on the 1st right next ...
 Luis Gonzalez
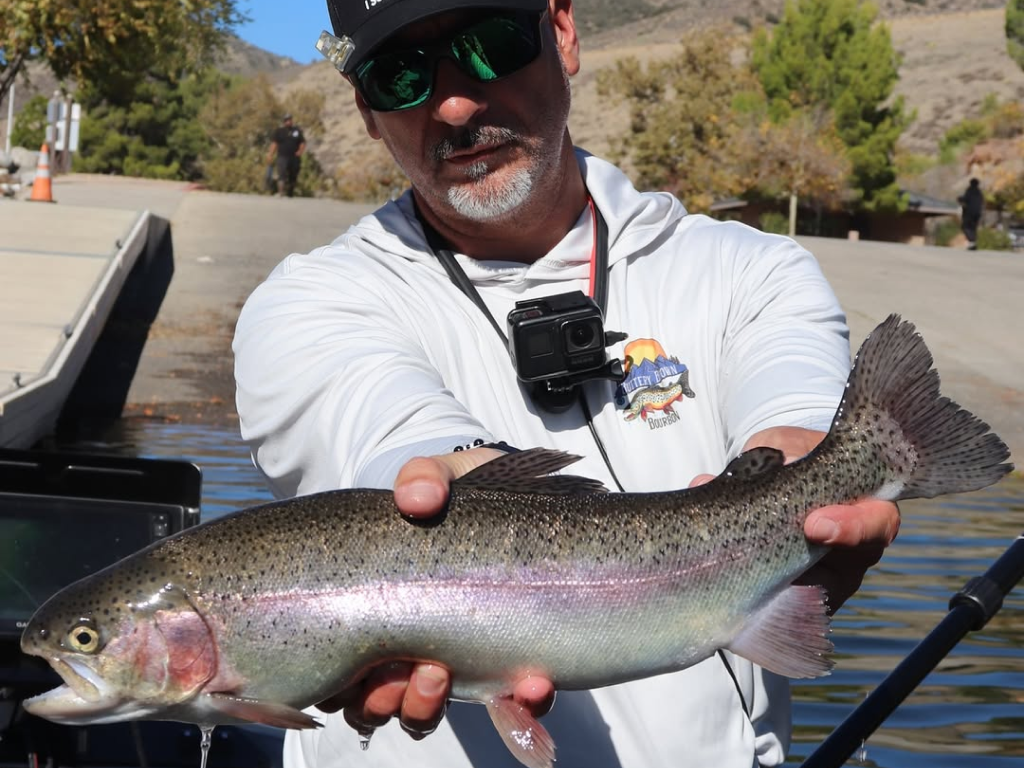
Pyramid Lake, Los Angeles County, CA – While Pyramid Lake fishing in Nevada continues to produce, the other Pyramid Lake...
Mike Cooper